I'll print Madoka runes on this set, white letter on black background. And I'll explain the process of making keycap mount step-by-step.
Jan 20, 2014
PBT DSA keycaps
I got PBT keycaps. Signature Plastics' DSA profile.

I'll print Madoka runes on this set, white letter on black background. And I'll explain the process of making keycap mount step-by-step.
Jan 9, 2014
Background color and ink saturation
To print white letter, background color should be saturated. Another overlap test result:

I printed the same pattern (three color belts) twice with 90 degree rotation.
The belts are M100, C20 and C20M100 each (generally. My printer is home/office model, the so-called RGB printer. Cannot control ink by CMYK). M100 x M100 square shows little difference. This is because M100 is nearly saturated. M100 x C20M100 square is the same thing. C20 x C20 shows distinct difference. Because C20 is far from saturation.
C20M100 x C20M100 square shows, not very distinct, but noticable difference. It's because C20 ingredient is not saturated.
In the conclusion, every ingredients of the background color should be saturated.
In that case, background color is restricted to these colors at most?
CMYK
Light Cyan
Light Magenta
Light Black
Light Light Black
...and mix of them
(But I doubt that the light colors are simply diluted)
In some way, yes. If I can get spot color ink for dye-sub, the answer is no. But I couldn't find such thing yet.
But...
C20M100 x C20M100 overlap is not seriously noticable. It's OK if overlap is narrow enough.
(C20 background is impossible though, any way)

I printed the same pattern (three color belts) twice with 90 degree rotation.
The belts are M100, C20 and C20M100 each (generally. My printer is home/office model, the so-called RGB printer. Cannot control ink by CMYK). M100 x M100 square shows little difference. This is because M100 is nearly saturated. M100 x C20M100 square is the same thing. C20 x C20 shows distinct difference. Because C20 is far from saturation.
C20M100 x C20M100 square shows, not very distinct, but noticable difference. It's because C20 ingredient is not saturated.
In the conclusion, every ingredients of the background color should be saturated.
In that case, background color is restricted to these colors at most?
CMYK
Light Cyan
Light Magenta
Light Black
Light Light Black
...and mix of them
(But I doubt that the light colors are simply diluted)
In some way, yes. If I can get spot color ink for dye-sub, the answer is no. But I couldn't find such thing yet.
But...
C20M100 x C20M100 overlap is not seriously noticable. It's OK if overlap is narrow enough.
(C20 background is impossible though, any way)
Jan 8, 2014
White letter problem
Dye cannot print white. White letter is a problem.
Basically, the only one way is printing every colors except for white. If the problem is just for top side, everything OK... Not in reality.
Printing on five sides
I yet haven't tried to print on five sides, but it seems hard. In the case of top side only, I run 6 batches for full-set keys. Better instruments can reduce the burden dramatically, of course, but the investment is huge. According to my speculation, around $3,000 for 1 batch process instruments at least. Larger keycap mount enables larger batch, but it requires better accuracy and durability which costs much. I cannot believe my DIY plaster jig works well at such region.
One batch time is around 15 minutes. 1.5 hours for 6 batches. Good. But 1.5x5=7.5 hours? Oh...
If printing on only one or few keys, red ESC key for example, the burden is not so hard. 1.25 hours for 20 pcs of red ESC key, Good.
But there is another obstacle.
Ridge line gap and overlap
Ridge line of keycap is not so sharp. Two cases are possible: gap and overlap.
Gap makes white line on ridge line. Very awkward. Overlap makes deep color line if the ink is not saturated. Therefore two principles are required:
1. Make overlap rather than gap.
2. Ink should be saturated.
Principle 1 means printing margin management. It requires some effort but makes no restriction.
Principle 2 means the restriction of the color. Saturated by unmixed single dye will be OK. But if mixed? Overlapping makes deeper color until all contained dyes saturate? I should test it before I print white letter...
If things go well, the restriction of the color isn't practical restriction. White letter on pale color is not practical. By the way, to print black letter on colored background, simply dye the keycap before printing.
Black key
About black, the problem is much easier. Black is perfectly saturated and color matching is easy. If light, make deeper, finish.
So I can use easier dyeing process for non-lettered sides. I mean, paint black dye by brush, heat, and wash off the dye. It is yet a burden, but 30 minutes for full-set keys, I suppose.
Basically, the only one way is printing every colors except for white. If the problem is just for top side, everything OK... Not in reality.
Printing on five sides
I yet haven't tried to print on five sides, but it seems hard. In the case of top side only, I run 6 batches for full-set keys. Better instruments can reduce the burden dramatically, of course, but the investment is huge. According to my speculation, around $3,000 for 1 batch process instruments at least. Larger keycap mount enables larger batch, but it requires better accuracy and durability which costs much. I cannot believe my DIY plaster jig works well at such region.
One batch time is around 15 minutes. 1.5 hours for 6 batches. Good. But 1.5x5=7.5 hours? Oh...
If printing on only one or few keys, red ESC key for example, the burden is not so hard. 1.25 hours for 20 pcs of red ESC key, Good.
But there is another obstacle.
Ridge line gap and overlap
Ridge line of keycap is not so sharp. Two cases are possible: gap and overlap.
Gap makes white line on ridge line. Very awkward. Overlap makes deep color line if the ink is not saturated. Therefore two principles are required:
1. Make overlap rather than gap.
2. Ink should be saturated.
Principle 1 means printing margin management. It requires some effort but makes no restriction.
Principle 2 means the restriction of the color. Saturated by unmixed single dye will be OK. But if mixed? Overlapping makes deeper color until all contained dyes saturate? I should test it before I print white letter...
If things go well, the restriction of the color isn't practical restriction. White letter on pale color is not practical. By the way, to print black letter on colored background, simply dye the keycap before printing.
Black key
About black, the problem is much easier. Black is perfectly saturated and color matching is easy. If light, make deeper, finish.
So I can use easier dyeing process for non-lettered sides. I mean, paint black dye by brush, heat, and wash off the dye. It is yet a burden, but 30 minutes for full-set keys, I suppose.
Jan 5, 2014
Color calibration and RIP
I've got a conclusion about color calibration and RIP.
1. Make my printing data by Adobe RGB.
2. Google iPhone case printing shops which use 3D sublimation.
3. Ask them for print my data on their sublimation film and send the film me.
The reason:
My top priority is to avoid poor dither dots. It is accomplished by 6-color printer. Therefore I must use 6-color printer when I print picture.
Dye-sub ink available 6-color printer is not low end. Its color calibration is not easy and requires expensive devices, I think. Moreover, I may fail at all.
I can avoid the cost and risk by subcontracting to iPhone case printing shops. The price will be around $50 for 5 pcs A4 sheet, I suppose. I'll try enough by my low end printer, and use the iPhone case printing shop for final product.
1. Make my printing data by Adobe RGB.
2. Google iPhone case printing shops which use 3D sublimation.
3. Ask them for print my data on their sublimation film and send the film me.
The reason:
My top priority is to avoid poor dither dots. It is accomplished by 6-color printer. Therefore I must use 6-color printer when I print picture.
Dye-sub ink available 6-color printer is not low end. Its color calibration is not easy and requires expensive devices, I think. Moreover, I may fail at all.
I can avoid the cost and risk by subcontracting to iPhone case printing shops. The price will be around $50 for 5 pcs A4 sheet, I suppose. I'll try enough by my low end printer, and use the iPhone case printing shop for final product.
Jan 2, 2014
My instruments
These are my instruments.
A part of vacuum former:

It consists of:
- Steel tray for cooking. $1. Bought from nearby shop.
- Waterworks pipe screw. $3. Bought from nearby shop.
I drilled the tray and glued the screw by glue gun.
The glue gun and the drill:


Common things I always have. You can buy enough things by $2 and $50.
A part of vacuum former:

Waterworks flexible pipe. $6. Bought from nearby shop. I connect a side to tray with screw, another to vacuum cleaner with duct tape.
The vacuum cleaner:)

A part of vacuum former:


Left is film side up, right is tray side up. They are plaster and I made them by casting and drilling.
Lego, burnt plaster and clay:


Lego: picked from garbage dump ago.
Burnt plaster: Enough quantity by $10. Bought from nearby shop.
Clay: Enough by $3. Bought from nearby shop.
Lego is nice to make mold frame. Clay is for molding keycap mount base. If you forget filling the keycap's overhang, keycap mount base doesn't come off. I did the mistake once...
Plaster casting is complicated process a bit. I recommend you to learn well first. FYI, I used dish soap as parting agent.
Inkjet printer:

$100 with non-oem dye-sub ink. Bought from a seller in Japan. I don't know what ink exactly, but very common things, I suppose.
Heat gun:

Very common thing. $20. Bought from Amazon.co.jp.
Pyrometer for temperature control:

$16. Bought from Amazon.co.jp. But mine is too narrow range. I recommend you over 200℃ ready model, $20.
Up to this point, instruments are common things. Non-oem dye-sub ink is not uncommon. Search Amazon.com.
From here, special stuffs.
Silicone rubber sheet:

The photo's is cut to fit keycap mount. Originally it was A3 size and I bought by 10 pcs set from Shenzhen Basya via Aliexpress. The 10 pcs set price is... $95. I have 9 pcs expensive sheet purposelessly...
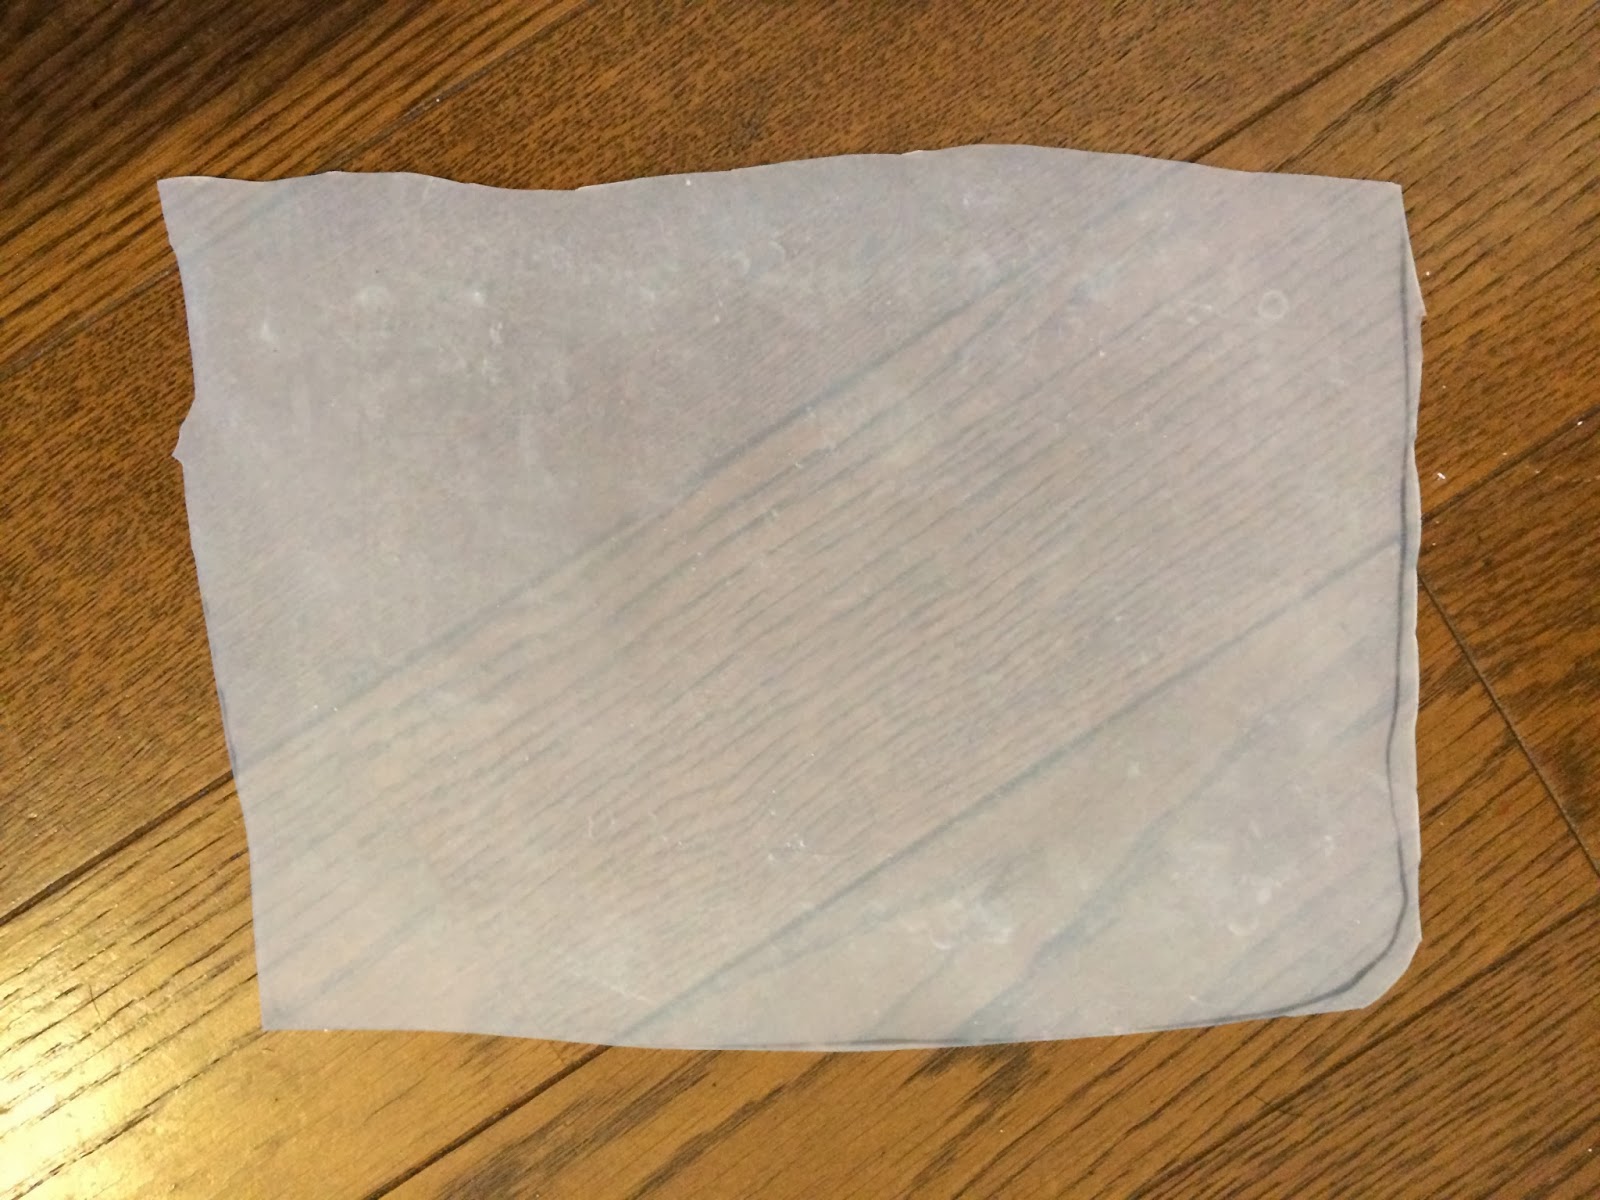
Silicone rubber sheet is a problem because it should be very soft. I bought some other sheets, but they are not as soft as Shenzhen Basya's. I recommend you to get 3D sublimation machine's sheet, if not Shenzhen Basya's.
Sublimation film:

The photo's is printed and cut. Originally A4 size.
The film is a problem, too.
First, I bought it from Shenzhen Basya. But now, they stop selling the item. You can find some alternatives at Aliexpress by searching 3D sublimation film, but I hear, gold film is not as good as transparent one.
Second, the film is expensive. I bought it as 100 pcs set by $200... Alternatives are about the same as expensive, too.
Keycap puller:

WASD Keyboard's. An accessory of their blank keycaps.
A part of vacuum former:
It consists of:
- Steel tray for cooking. $1. Bought from nearby shop.
- Waterworks pipe screw. $3. Bought from nearby shop.
I drilled the tray and glued the screw by glue gun.
The glue gun and the drill:
Common things I always have. You can buy enough things by $2 and $50.
A part of vacuum former:
Waterworks flexible pipe. $6. Bought from nearby shop. I connect a side to tray with screw, another to vacuum cleaner with duct tape.
The vacuum cleaner:)
A part of vacuum former:
Left is film side up, right is tray side up. They are plaster and I made them by casting and drilling.
Lego, burnt plaster and clay:
Lego: picked from garbage dump ago.
Burnt plaster: Enough quantity by $10. Bought from nearby shop.
Clay: Enough by $3. Bought from nearby shop.
Lego is nice to make mold frame. Clay is for molding keycap mount base. If you forget filling the keycap's overhang, keycap mount base doesn't come off. I did the mistake once...
Plaster casting is complicated process a bit. I recommend you to learn well first. FYI, I used dish soap as parting agent.
Inkjet printer:
$100 with non-oem dye-sub ink. Bought from a seller in Japan. I don't know what ink exactly, but very common things, I suppose.
Heat gun:
Very common thing. $20. Bought from Amazon.co.jp.
Pyrometer for temperature control:
$16. Bought from Amazon.co.jp. But mine is too narrow range. I recommend you over 200℃ ready model, $20.
Up to this point, instruments are common things. Non-oem dye-sub ink is not uncommon. Search Amazon.com.
From here, special stuffs.
Silicone rubber sheet:
The photo's is cut to fit keycap mount. Originally it was A3 size and I bought by 10 pcs set from Shenzhen Basya via Aliexpress. The 10 pcs set price is... $95. I have 9 pcs expensive sheet purposelessly...
Silicone rubber sheet is a problem because it should be very soft. I bought some other sheets, but they are not as soft as Shenzhen Basya's. I recommend you to get 3D sublimation machine's sheet, if not Shenzhen Basya's.
Sublimation film:
The photo's is printed and cut. Originally A4 size.
The film is a problem, too.
First, I bought it from Shenzhen Basya. But now, they stop selling the item. You can find some alternatives at Aliexpress by searching 3D sublimation film, but I hear, gold film is not as good as transparent one.
Second, the film is expensive. I bought it as 100 pcs set by $200... Alternatives are about the same as expensive, too.
Keycap puller:
WASD Keyboard's. An accessory of their blank keycaps.
Some thoughts
I have some experience now, some thoughts too.
This is schematic view of single keycap mount I made:

Photo:


Mount's sucking area's flatness is important.
My first try was failed by this reason, I suppose. If flatness is not enough, air leaks and makes a mess. Float glass (common window glass) is overkill, but you shouldn't expect the bottom of a paper cup works well.
Alignment mark
I haven't make any alignment marks yet. But it is required in my experience. One is on sublimation film, another is on keycap mount.
How can I make alignment mark on sublimation film? Since my printer is low-end office/home 4-color model, I have to print the mark by dye-sub ink. The mark can't avoid heat and sublimation. Alignment mark on mount will be corrupted by dye-sub ink. Alignment mark on mount should be tolerant to dye-sub ink.
Therefore, alignment mark on mount shouldn't be plastic or porous. It should be heat proof, too. Scribe line on metal plate is a good choice in my opinion. I'll try later.
Color calibration and RIP
You can see dither dots in pictures like this:

Dye-sub printing by low-end office/home printer is in non-oem world. In official world, printer manufacturer provides color calibration and RIP with detailed description in exchange for much money. But in non-oem world, in exchange for saving money, I have to survey a lot of things.
Actually I'm not well informed about printing. I even don't have the knowledge about how much time required to do these things.
Blank margin
My keycap mount was made by plaster casting. The mask contacts tightly with keycap. But it makes a problem. To avoid dye-sub ink corrupts the mask (if mask is corrupted, ink re-sublimates and corrupts keycaps), I have to make blank margin at the edge of keycaps. It is ugly in printing pictures. I'll take some measures next time.
Temperature varies between center and rim of keycap mount
I made and tested keycap mount for mass production:

I heated it by common heat gun, measuring the temperature by pyrometer. I aimed much to gain standardized temperature, but I found a tendency: the center of the mount becomes high, the rim becomes low.
I don't know the reason yet. Air holes effect? Marginal area is too narrow? Mask material absorbs heat? I feel this is the most embarrassing problem so far...
This is schematic view of single keycap mount I made:
Photo:
Mount's sucking area's flatness is important.
My first try was failed by this reason, I suppose. If flatness is not enough, air leaks and makes a mess. Float glass (common window glass) is overkill, but you shouldn't expect the bottom of a paper cup works well.
Alignment mark
I haven't make any alignment marks yet. But it is required in my experience. One is on sublimation film, another is on keycap mount.
How can I make alignment mark on sublimation film? Since my printer is low-end office/home 4-color model, I have to print the mark by dye-sub ink. The mark can't avoid heat and sublimation. Alignment mark on mount will be corrupted by dye-sub ink. Alignment mark on mount should be tolerant to dye-sub ink.
Therefore, alignment mark on mount shouldn't be plastic or porous. It should be heat proof, too. Scribe line on metal plate is a good choice in my opinion. I'll try later.
Color calibration and RIP
You can see dither dots in pictures like this:
Dye-sub printing by low-end office/home printer is in non-oem world. In official world, printer manufacturer provides color calibration and RIP with detailed description in exchange for much money. But in non-oem world, in exchange for saving money, I have to survey a lot of things.
Actually I'm not well informed about printing. I even don't have the knowledge about how much time required to do these things.
Blank margin
My keycap mount was made by plaster casting. The mask contacts tightly with keycap. But it makes a problem. To avoid dye-sub ink corrupts the mask (if mask is corrupted, ink re-sublimates and corrupts keycaps), I have to make blank margin at the edge of keycaps. It is ugly in printing pictures. I'll take some measures next time.
Temperature varies between center and rim of keycap mount
I made and tested keycap mount for mass production:
I heated it by common heat gun, measuring the temperature by pyrometer. I aimed much to gain standardized temperature, but I found a tendency: the center of the mount becomes high, the rim becomes low.
I don't know the reason yet. Air holes effect? Marginal area is too narrow? Mask material absorbs heat? I feel this is the most embarrassing problem so far...
Subscribe to:
Posts (Atom)